Create Calendar
 Create Calendar
Create Calendar
These instructions were adapted from instructions found at this website: Get started creating SharePoint-hosted SharePoint Add-ins.
Create the Add-In Project
Open the file /Pages/Default.aspx from the root of the project.
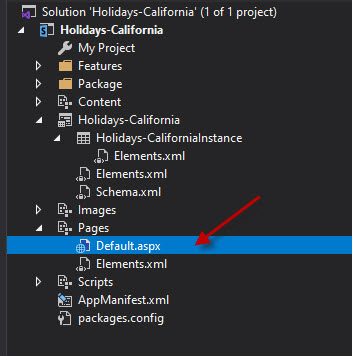
Among other things, this generated file loads some scripts that are hosted on SharePoint. The scripts are:
- sp.runtime.js
- sp.js
The markup for loading these files is in the Content control near the top of the file that has the ID PlaceHolderAdditionalPageHead. The markup varies depending on the version of Microsoft Office Developer Tools for Visual Studio that you are using.

<script type="text/javascript" src="/_layouts/15/sp.runtime.js"></script>
<script type="text/javascript" src="/_layouts/15/sp.js"></script>
This series of tutorials requires that both files be loaded and that they be loaded with ordinary HTML <script> tags, not <SharePoint:ScriptLink> tags.
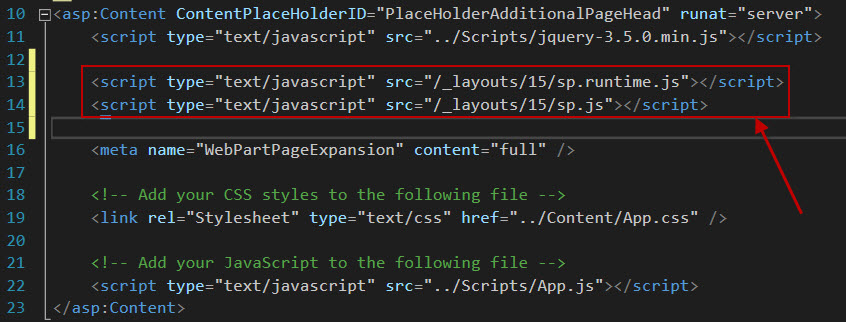
Search the file for any other markup that also loads one or the other of these files and remove the redundant markup. Save and close the file. In the case of Visual Studio 2019, there were no other instances of the markup that loads these files.
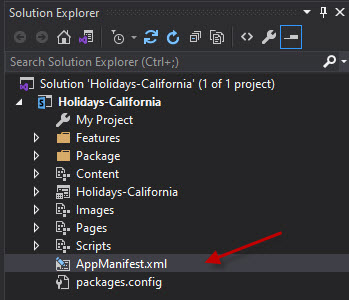
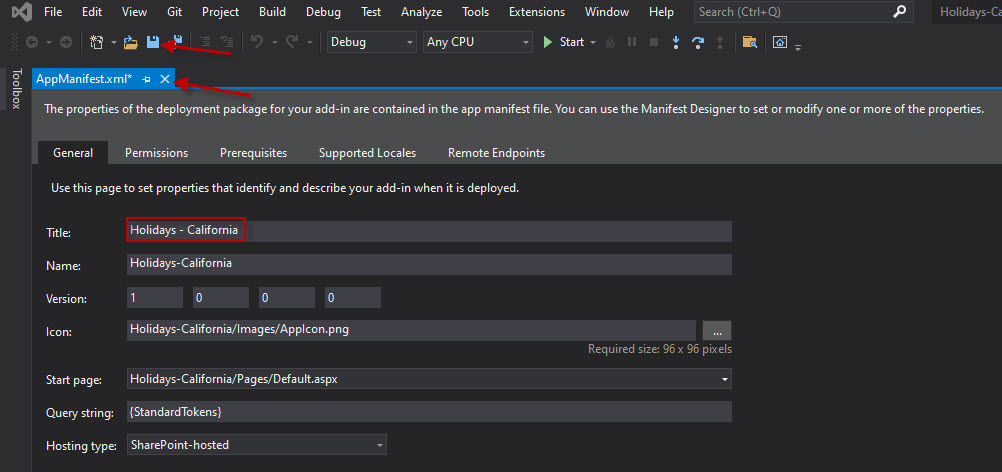
In Solution Explorer, open the AppManifest.xml file.
When the manifest designer opens, clean up the value in the Title field so that it reads Holidays - California. This value will be seen on the title of the Add-In when a SharePoint user attempts to execute the Add-In app.
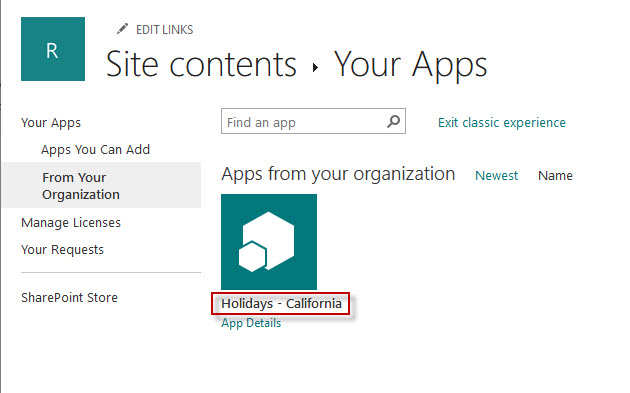
Important: Do not change the Name field.
Save and close the file.
Code the Add-In
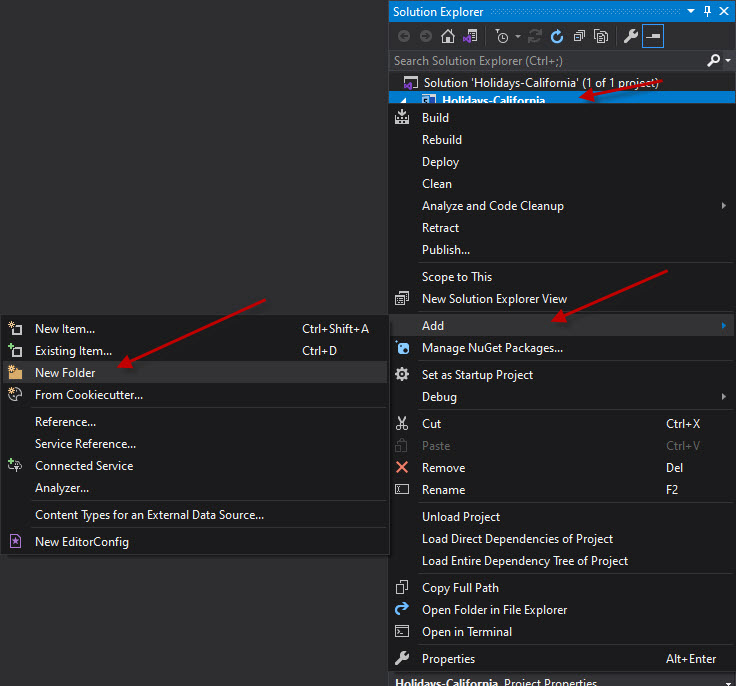
Right-click the project in the Solution Explorer and select Add > New Folder.
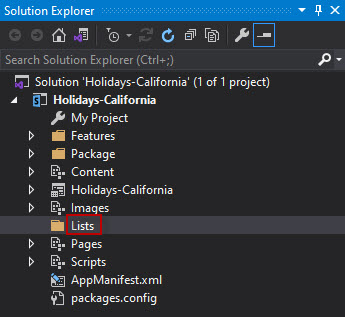
Name the folder Lists.
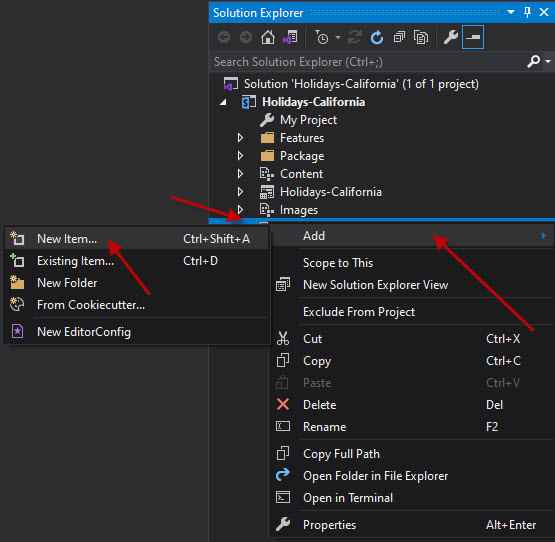
Right click the new folder, Lists and select Add > New Item.
Select List. Give it the name Holidays-California, and then select Add.
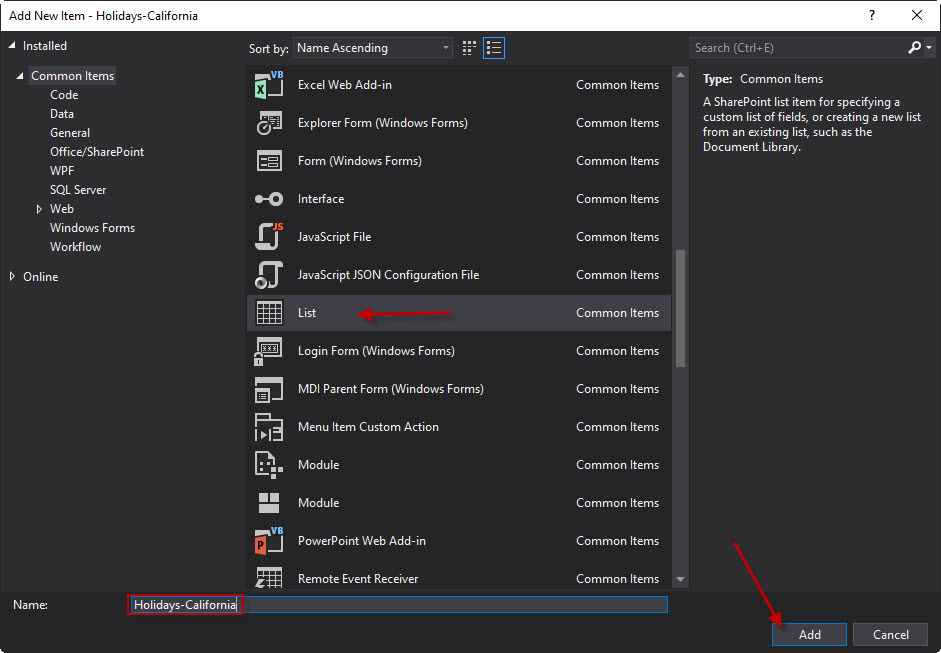
On the Choose List Settings page of the SharePoint Customization Wizard, leave the list display name at the default, Holidays-California, and select the Create a customizable list template and a list instance of it option button, select Calendar on the drop-down list, and then select Finish.
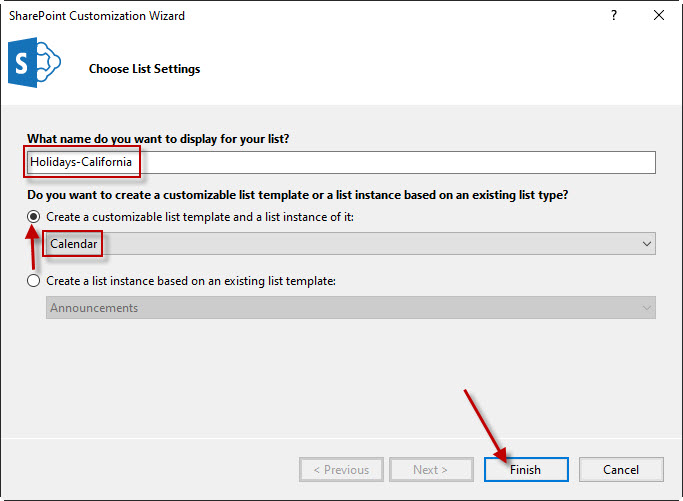
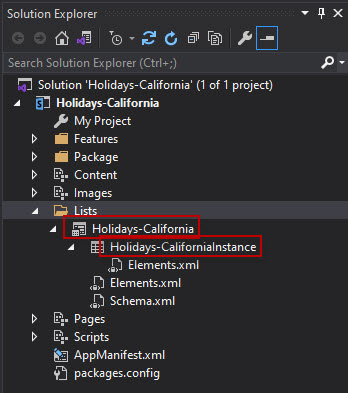
The wizard creates a Holidays-California list template with a child list instance named Holdays-CaliforniaInstance. A list designer should have opened. This will be used later.
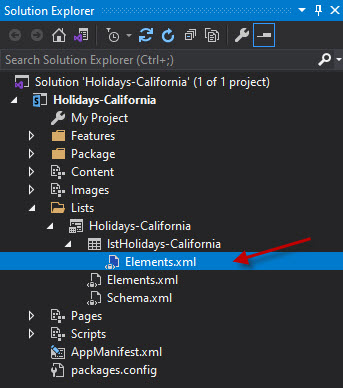
Open (click) the elements.xml child of the Holidays-California list template. Be sure to not open the elements.xml child of the Holidays-CaliforniaInstance node.
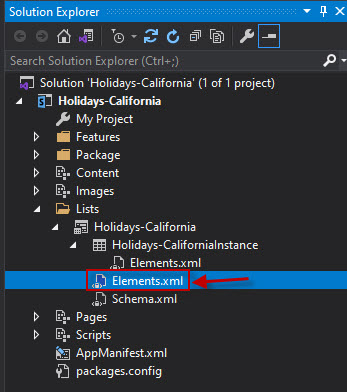
Add spaces to the DisplayName attribute (not the Name attribute) to make it friendlier: "Holidays - California." Also update the Description attribute. Leave all other attributes at their default, save the file, and close it.

Double click on the list instance in the Solution Explorer.
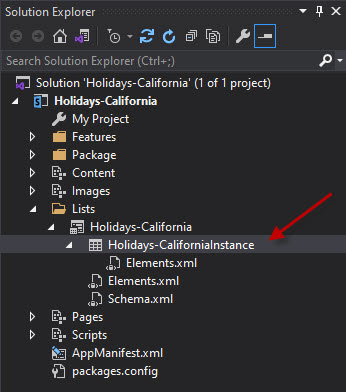
Ensure you are looking at the List tab in the Designer. Set the Title to Holidays - California. This value is used the list is being viewed on a SharePoint site.
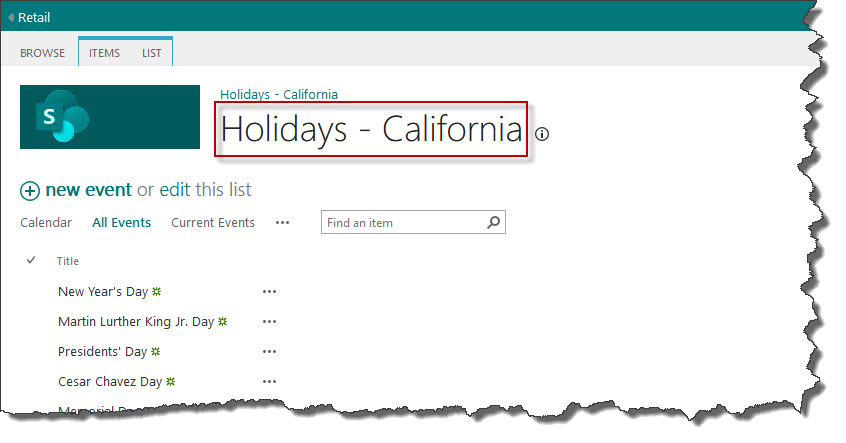
Set the description to Recognized holidays in the great state of California. This text is displayed when a user click on the i icon for more information.
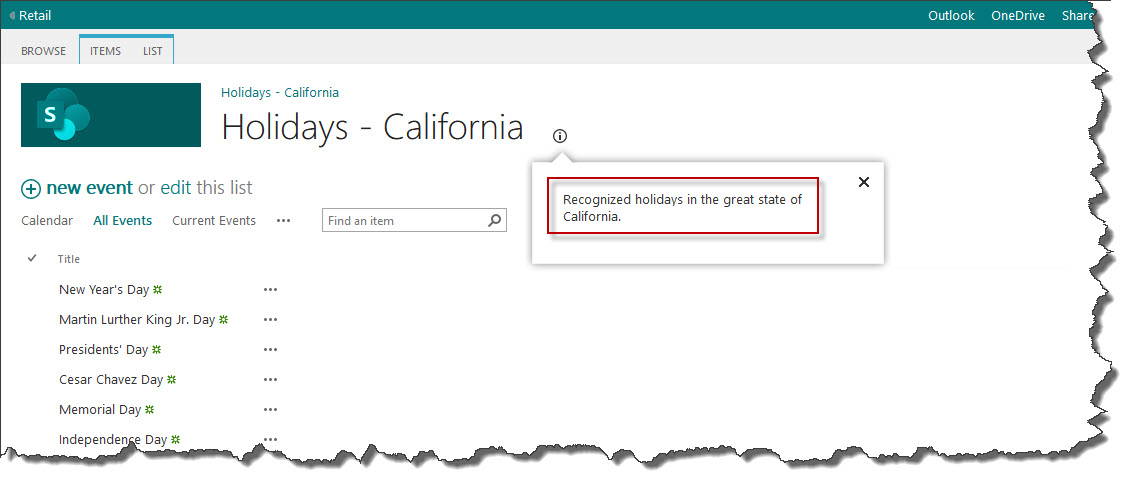
Leave the check boxes at their default status, save the file and close the designer.
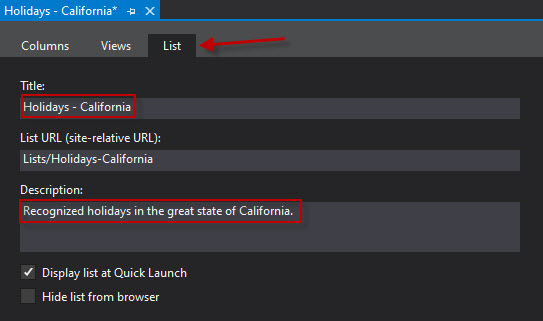
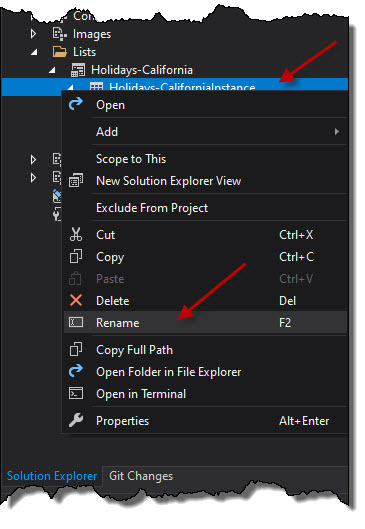
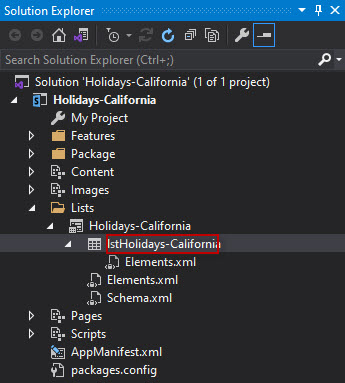
The list instance may have its old name in Solution Explorer. If so, open the context menu for Holidays-CaliforniaInstance, select Rename, and change the name to lstHolidays-California.
Solution Explorer should now look like this.
Open the elements.xml file that is a child of the list instance lstHolidays-California, not the elements.xml that is a child of the list template Holidays-California.
In this file, populate the list with some initial data. You do this by adding the following Data element markup as a child element of the ListInstance element.
<Data>
  <Rows>
    <Row>
      <Field Name="Title">New Year's Day</Field>
    </Row>
    <Row>
      <Field Name="Title">Martin Lurther King Jr. Day</Field>
    </Row>
    <Row>
      <Field Name="Title">Presidents' Day</Field>
    </Row>
    <Row>
      <Field Name="Title">Cesar Chavez Day</Field>
    </Row>
	<Row>
      <Field Name="Title">Memorial Day</Field>
    </Row>
	<Row>
      <Field Name="Title">Independence Day</Field>
    </Row>
	<Row>
      <Field Name="Title">Labor Day</Field>
    </Row>
	<Row>
      <Field Name="Title">Veterans Day (Observed)</Field>
    </Row>
	<Row>
      <Field Name="Title">Thanksgiving Day</Field>
    </Row>
	<Row>
      <Field Name="Title">Day after Thanksgiving</Field>
    </Row>
	<Row>
      <Field Name="Title">Christmas Day</Field>
    </Row>
  </Rows>
</Data>
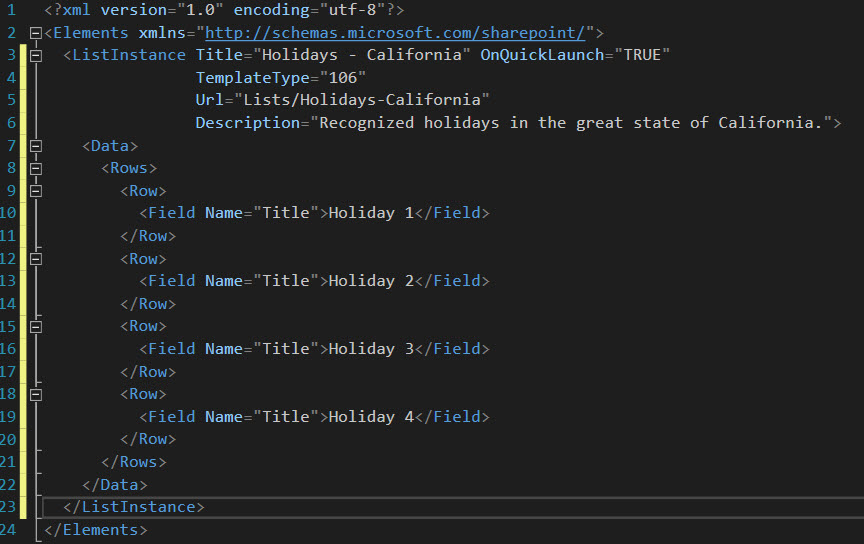
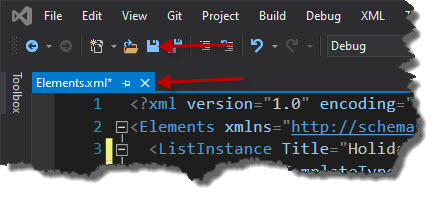
Save and close the file.
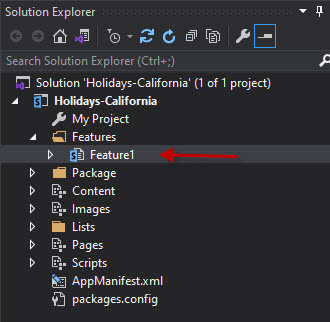
In Solution Explorer, double-click Feature1 to open the Feature designer.
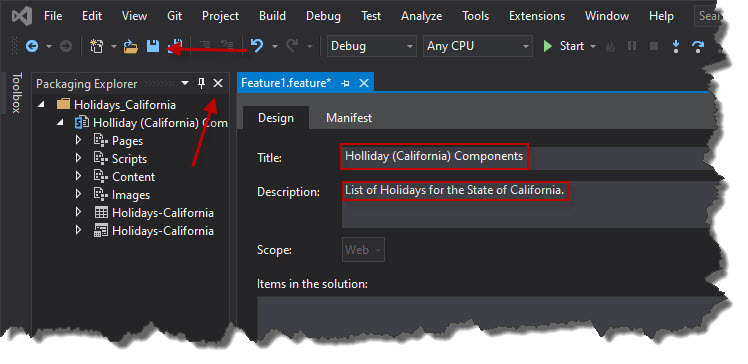
In the designer, set the Title to California Holiday Calendar Components and set the Description to Calendar. Save the file, and then close the designer.
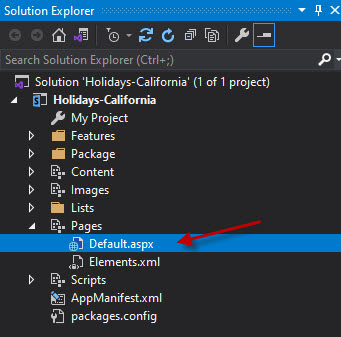
In Solution Explorer, open the default.aspx file.
Find the ASP.NET Content element with the ID PlaceHolderPageTitleInTitleArea.
ContentPlaceHolderID="PlaceHolderPageTitleInTitleArea"

Replace the default string "Page Title" with "Holidays - California". This value is used on the Default.aspx web page.
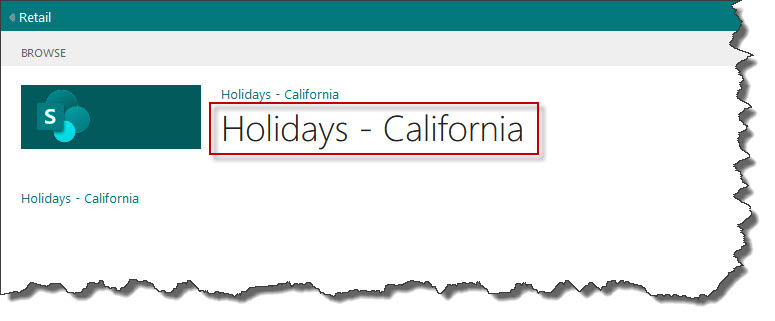

Find the ASP.NET Content element with the ID PlaceHolderMain.

Replace its contents with the following markup:
<p>
  <asp:HyperLink runat="server" NavigateUrl="JavaScript:window.location = _spPageContextInfo.webAbsoluteUrl + '/Lists/Holidays-California/AllItems.aspx';" Text="Holidays - California" />
</p>

The _spPageContextInfo is a JavaScript object that SharePoint automatically includes on the page. It's webAbsoluteUrl property returns the URL of the add-in web.
Save and close the file.
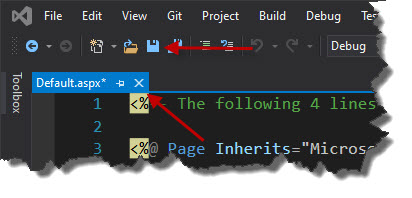
Use the F5 key to deploy and run your add-in. Visual Studio makes a temporary installation of the add-in on your test SharePoint site and immediately runs the add-in.

.ico)