Cert Prep: SharePoint 2013 Microsoft Office Specialist (77-419)
 Exam 77-419
Introduction
Welcome
In this course, we'll explore each of the exam objectives. This includes the following:
- lists and libraries
- workflows
- content types
- document sets
- subsites
- creating and editing pages
- working with web parts
- content organizer
- Recycle Bin
- managing user and group permissions
- My Site Elements
- Newsfeed
- OneDrive
- Sites
- updating your profile
- newsfeed information
- blogs
- colleague tracker
- Tag Cloud web parts
- Site, List, and Library Search Settings
- Set site search visibility
- Index Web Parts
- Index and search lists
- Index and search libraries
- Add indexed columns to a library
- simple searches and narrow results using the refinement panel
- add alerts to a search
- expand our search results using boolean operators and wild cards
Who should take this course
To take this course, you need to be:
- interested in taking the Microsoft Office Specialist (MOS) exam
- not be your first exposure to SharePoint
- solid understanding of SharePoint
- able to perform all site-level tasks
Microsoft Office Specialist SharePoint 2013 Exam Overview
Microsoft Office Specialist certifications
There are three distinct types of Microsoft Office Certifications.
Microsoft Office Specialist Certification
To gain that certification, you need to pass one exam. The exams are available for the following:
- Word
- Excel
- PowerPoint
- Access
- Outlook
- OneNote
- Office 365
- SharePoint 2013
Microsoft Office Specialist Expert
The Microsoft Office Specialist Expert exams require you pass the Word Expert or the Excel Expert exam.
Microsoft Office Specialist Master
The Microsoft Office Specialist Master allows you to demonstrate your mastery of a number of Microsoft Office products. You'll need to complete the Word Expert, the Excel Expert exam, as well as the PowerPoint exam, and you'll need to choose one elective exam.
SharePoint 2013 is one of the electives.
MOS preparation and testing
Be well prepared before taking the exam.
The first place to start is at the Microsoft Learning site. It provides in-depth information about all the Microsoft Office Specialist exams.
Review each exam objective and details carefully.
MOS SharePoint exam format and prep tips
The exam is 35 questions in 50 minutes.
The questions on the exam are a combination of both simulation and multiple choice questions.
In the simulated environment, you're gonna be asked to perform specific objectives. Remember, there are multiple ways of working through many of these same objectives. You may find, as you're taking the exam, that they may block certain methods of you accomplishing those objectives. Make sure you know different ways of getting to the same end.
The multiple choice questions may be a combination of true/false or may have multiple answers to them.
Make sure, as you're working through each one of the exam questions, that you read the exam question fully.
Make sure, before you go into the exam, that you've reviewed each exam objective carefully. Know the alternate methods of accomplishing a specific task and during the exam, move as quickly as possible through the questions.
Make sure you also utilize the ability to mark questions for review. Don't spend 10 minutes on one question. If you don't understand it fully, mark it for review, and move on to the other questions.
Keep an eye on the timer. Throughout the exam, you'll be able to see how many questions you have completed or marked for review, as well as the remaining time on the exam.
Creating and Formatting Content: Working with Lists
Create and configure lists
Lists allow users to store information in a wide variety of ways. They could be tasks in a task list, dates arranged in a calendar, customer contacts, or company announcements.
Create a Task List
Navigate over to Site Contents.
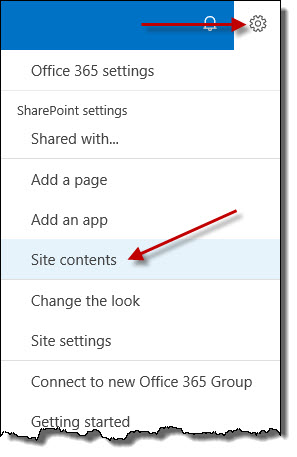
Click on add an app.

Click on the Tasks app to create a new task list.
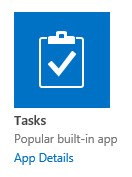
Enter SharePointRolloutTasks in the text box and click on Create.

Note: It is best to not use spaces in the list name. When SharePoint creates a list with spaces in the name, the URL created to access that list contain %20 for every space in the list name. It is best to create the list with no spaces and change the name after the list is created. By doing this, the %20 notation can be avoided.
The new SharePoint list has been created. To change the name to add the spaces, on the Site Contents page, locate the new SharePointRolloutTasks list. Move your mouse to the list and locate the ellipsis.
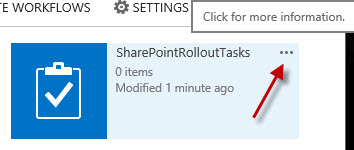
Click on SETTINGS.
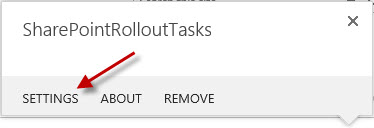
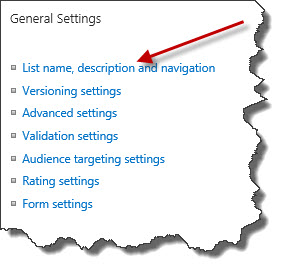
The SharePoint list settings page is now displayed. Under General Settings, select List name, description and navigation.
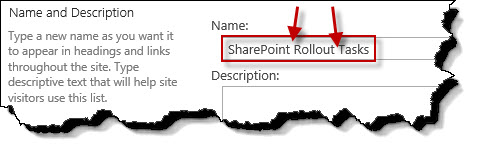
Add the spaces back into the name field. Change the name to be SharePoint Rollout Tasks.
If the list needs to be added to the Quick Launch (menu on the left side of the page), click on Yes.

Click on Save.

To get back to the list, use the breadcrumb navigation by clicking on the SharePoint Rollout Tasks to see the list that was just created.

Create a Calendar List
Navigate over to Site Contents.

Click on add an app.

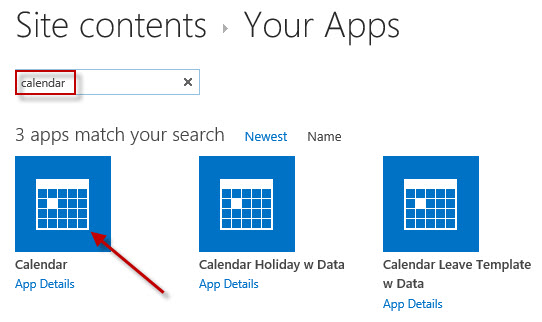
The Calendar app does not show on the page initially. In the search box, enter the word calendar and press enter. On the search results page, click on the Calendar app.
Set the name of the calendar list to TeamCalendar and click on the Create button.

Click on the TeamCalendar app to launch it.
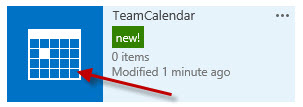
A calendar list does not use a list ribbon. It is a CALENDAR ribbon.

To get into the list settings, click on the CALENDAR ribbon. On the right side of the ribbon, there is the List Settings icon. Click on the List Settings icon to access the list's settings.
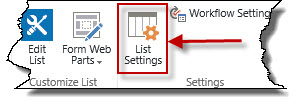
The SharePoint list settings page is now displayed. Under General Settings, select List name, description and navigation.

Add the space back into the name field. Change the name to be Team Calendar.
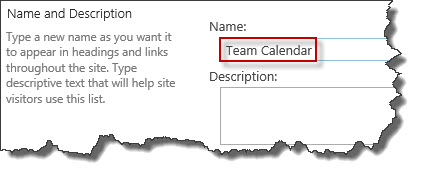
Click on Save.

Create an Issue Tracking List
Navigate over to Site Contents.

Click on add an app.

The Issue Tracking app does not show on the page initially. In the search box, enter the word issues and press enter. On the search results page, click on the Issue Tracking app.
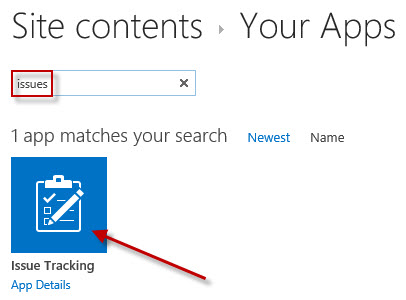
Set the name of the calendar list to Issues and click on the Create button.

Create a Custom List
Navigate over to Site Contents.

Click on add an app.

The Custom List app does not show on the page initially. In the search box, enter the word custom and press enter. On the search results page, click on the Custom List app.
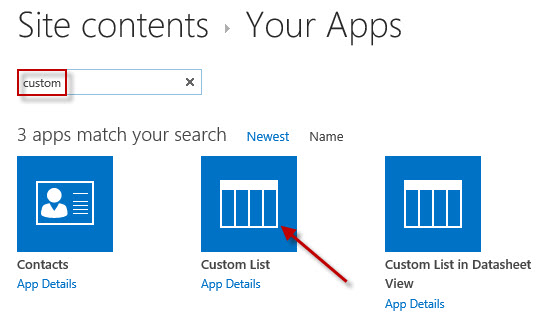
Set the name of the custom list to Contacts and click on the Create button.

Add Data to Contacts List
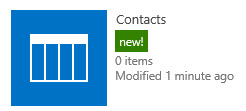
At this point, a couple of new records need to be added to the newly created custom list named Contacts. From the Site Contents page, locate and click on the Contacts list to open it.
On the Contacts page, click on New Item.
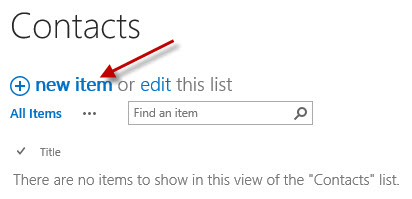
Since this is a custom list, the only field in the list is Title. Enter ABC Corporation in the Title field and press the Save button.

On the Contacts page, click on New Item.
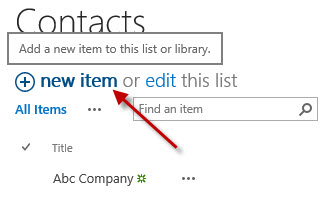
Enter XYZ Sales and Service in the Title field and press the Save button.
 but I'm gonna have to come back and fix this later on. But for now, we'll simply save those two items to get us started. Now, I can see on my quick launch on my left-hand side that my contacts, my issues, and my team calendar are showing up underneath recent.
I didn't take time to add those to my quick launch, but I'll go back now, and make a couple of changes. I'm gonna return back to my team calendar, go onto my calendar ribbon, and again, I'll choose my list settings. Even though the tab said calendar, my list settings are still the same as with my other lists. I'll choose list name, description, and navigation. And under the choice, display this list on quick launch, I'll choose yes.
Save my change, and now my team calendar appears on my quick launch. For a quick recap, what we took a look at in this video, was different options of creating a list. We used the list templates for tasks, for calendars, and for issues. We also walked through creating a list using the custom list template. We saw that there was only one field, so we know we're gonna have to come back and do some further customization to make that list more useful.
And, we've looked at adding lists to our quick launch bar to make them easy to work with. We can work with the ellipsis from site contents to be able to get to our settings choice quickly, or we can always go to the list settings option on our list ribbon.
.ico)