Add In Catalog
 Add In Catalog
Add In Catalog
These instructions were adapted from instructions found at this website: Deploy and install a SharePoint-hosted SharePoint Add-in.
In your favorite browser, navigate to your Office 365 subscription.
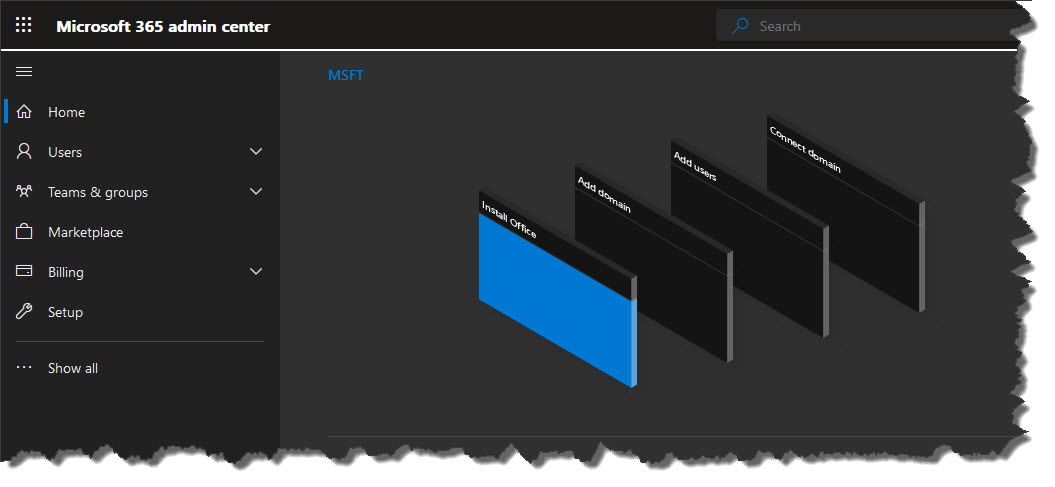
Click on the Show all option.
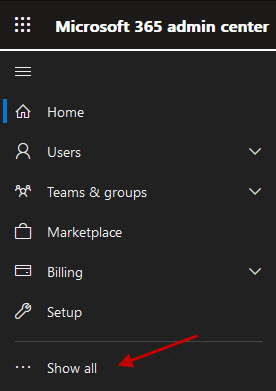
A larger display of options is displayed. In the list of Admin centers, click on SharePont.
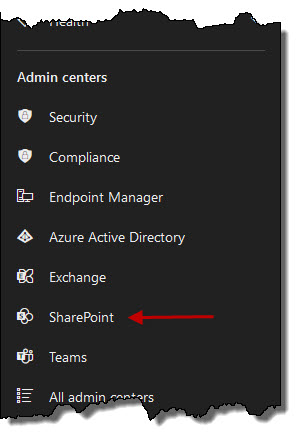
This will bring you to the SharePoint admin center. Click on the More features option.
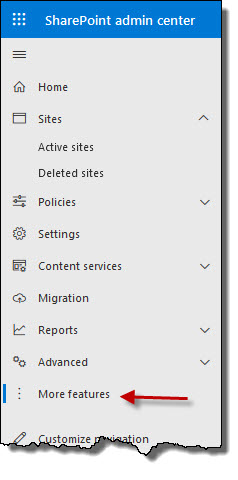
The More features page is opened. Locate the Apps tile and click on the Open button.
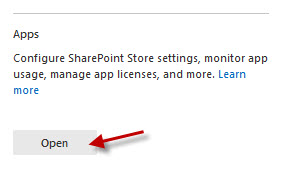
This should open a new browser tab. This will be your Apps for SharePoint list located on the tenantAppCatalog SharePoint site. The URL for this page should be https://[tenant].sharepoint.com/sites/appcatalog/_layouts/15/tenantAppCatalog.aspx/manageApps?source=classicAppCatalog.
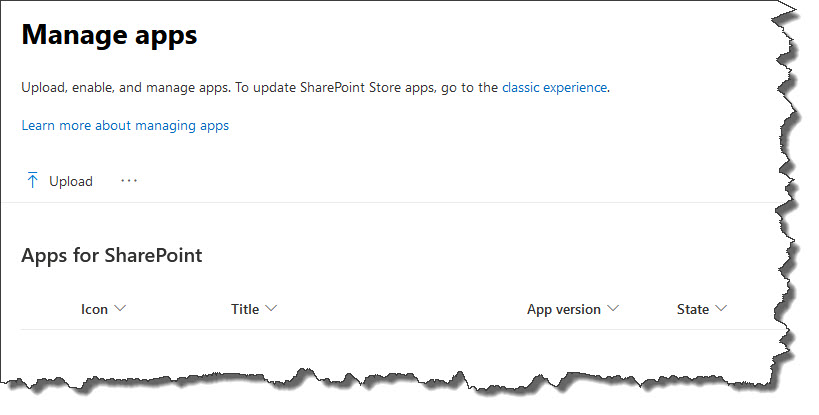
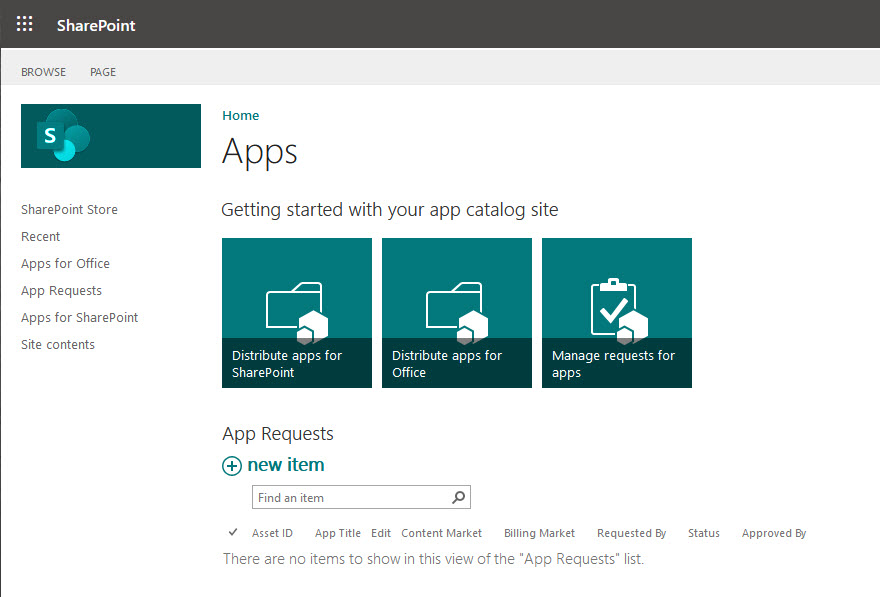
The App Catalog is actually a SharePoint site dedicated for sharing SharePoint apps. The link for the SharePoint site is https://[tenant].sharepoint.com/sites/appcatalog. The Manage apps list (shown above) is a list located on that site.
Package Add-In and Publish
Open the Visual Studio solution, right-click the project node in Solution Explorer, and then select Publish.
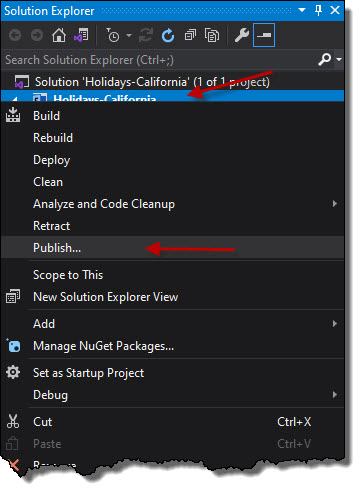
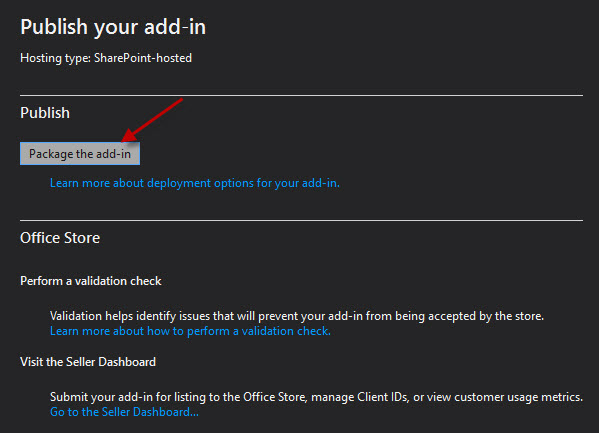
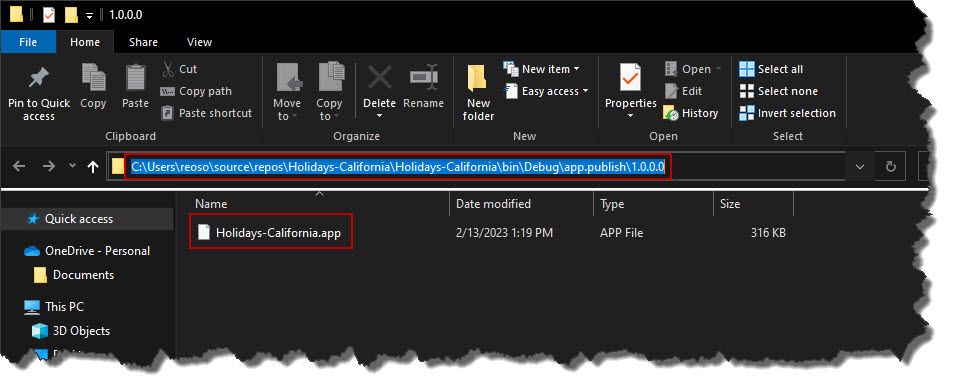
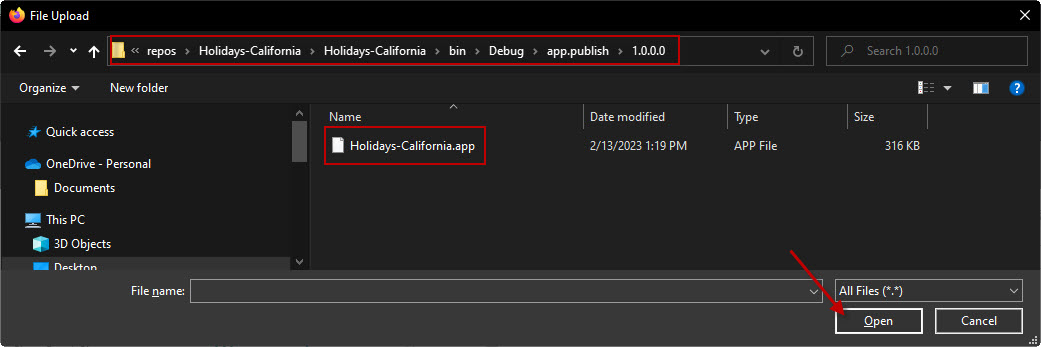
This will open the Publishing pane. In the Publish pane, select Package the add-in. The add-in is packaged and saved as an *.app file in the solution's \bin\debug\web.publish\1.0.0.0 folder.
The add-in is packaged and saved as an *.app file in the solution's \bin\debug\web.publish\1.0.0.0 folder.
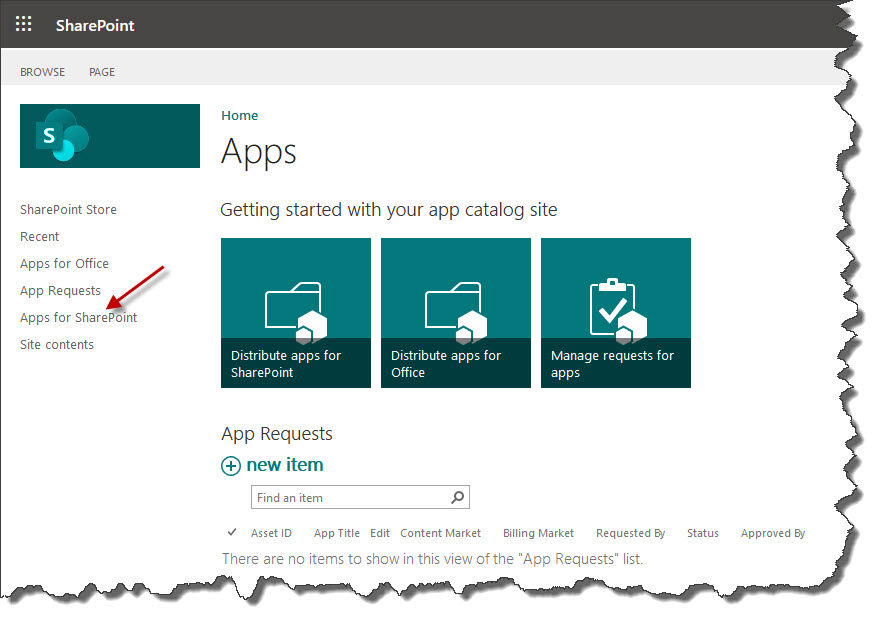
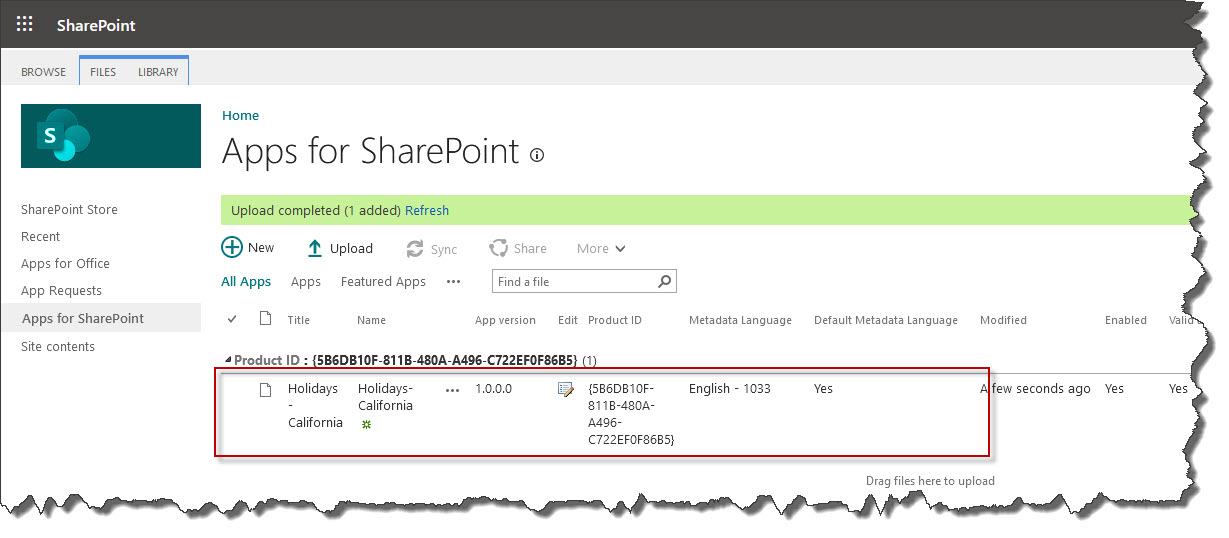
Open your add-in catalog site in a browser, and then select Apps for SharePoint in the navigation bar. In this example, the URL is https://[tenant].sharepoint.com/sites/appcatalog.
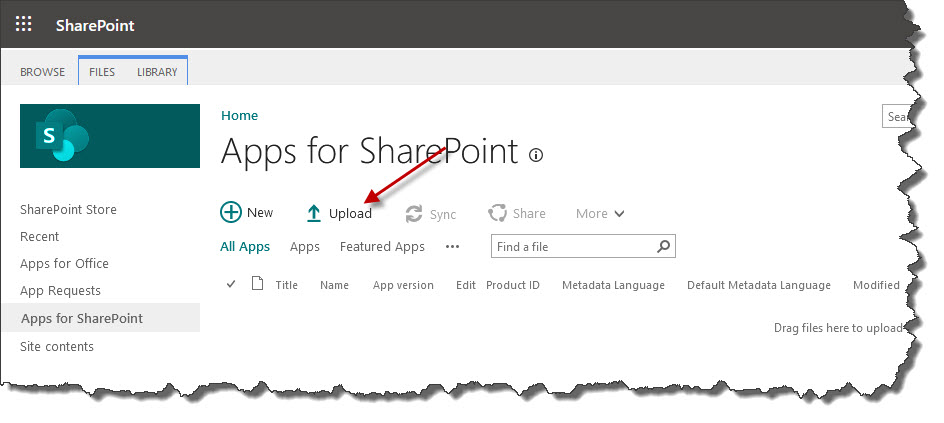
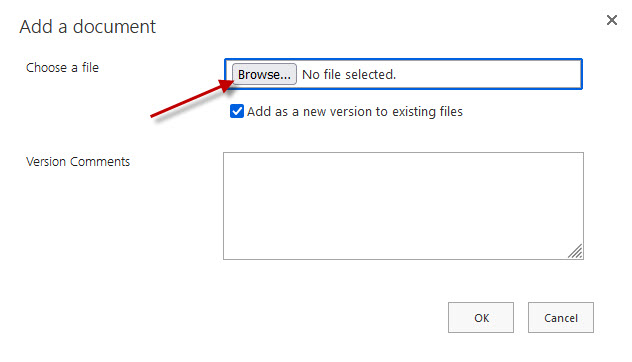
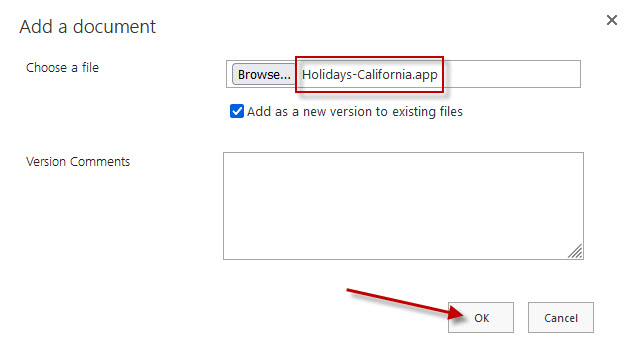
The SharePoint Add-ins catalog is a standard SharePoint asset library. Upload the add-in package to it using any of the methods of uploading files to SharePoint libraries.
Install the Add-In
Open any of the SharePoint sites in the tenant. In this example, we will use the sample retail site. The URL is https://[tenant].sharepoint.com/sites/Retail.
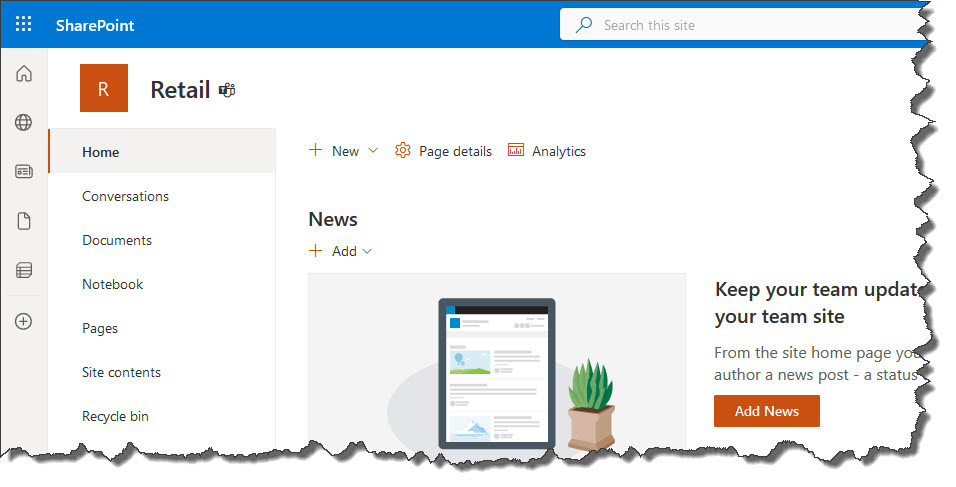
Navigate over to the site contents page.
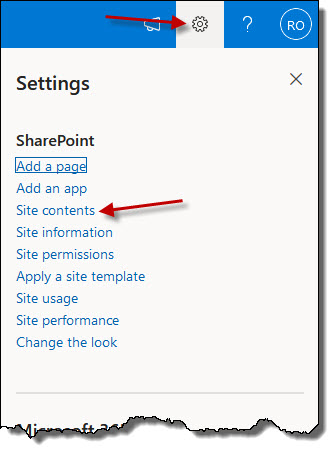
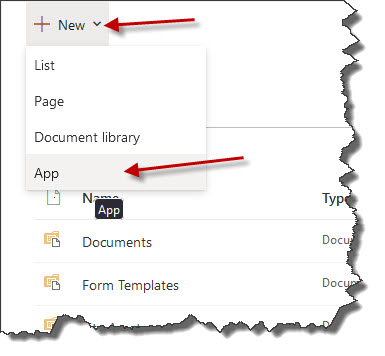
Click on New followed by App.
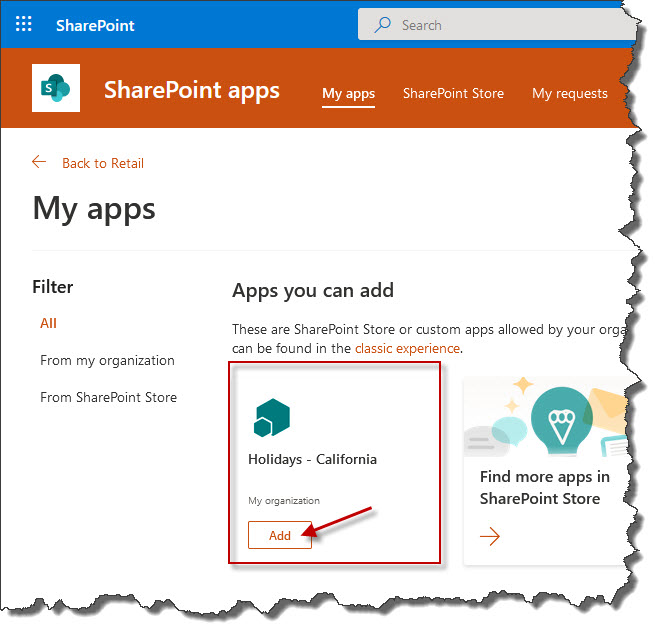
Locate your app and click on Add.
On the Review app permissions and data access, click on Trust it.

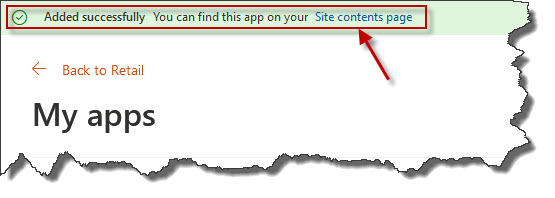
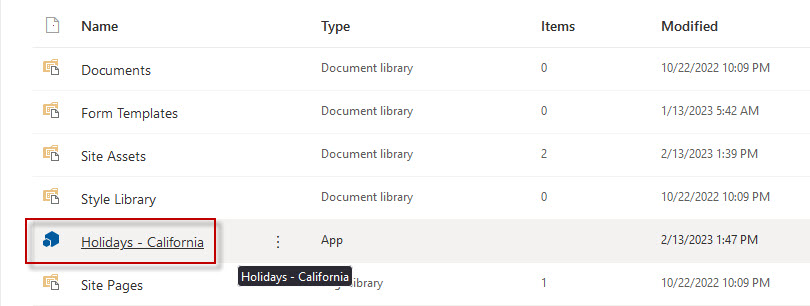
After a moment, you will see a message that the add-in was added sucessfully. You can click on the site contents page to see you new add-in.
Here it is.
.ico)