Site Column
 Site Column
Site Columns
Normally, columns are added to lists or libraries in order to include additional metadata. This may include the date of a publication, owner, or a short description. These columns can be added fiarly simply. Many of the most common column types are provided automatically and are already part of SharePoint. However, you may need additional columns that are not part of SharePoint. This can be handled by SharePoint Site Columns.
How to Create a Site Column
The basic process of creating a Site Column is pretty straightforward.
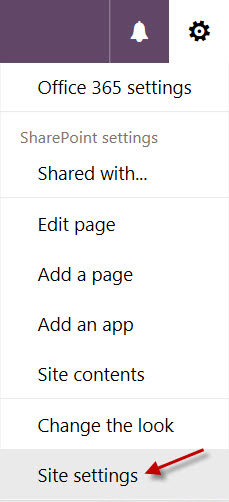
Begin by select the 'cog' on the top right of your screen and selelcting the 'Site Settings' option.
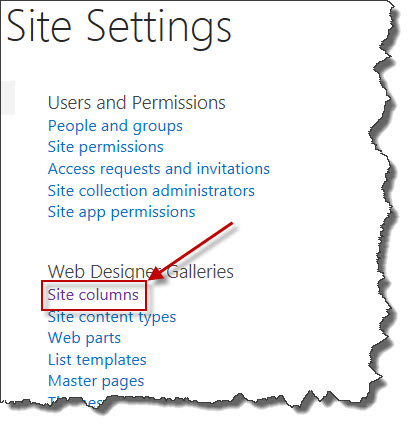
From the Site Settings page, select Site Columns.
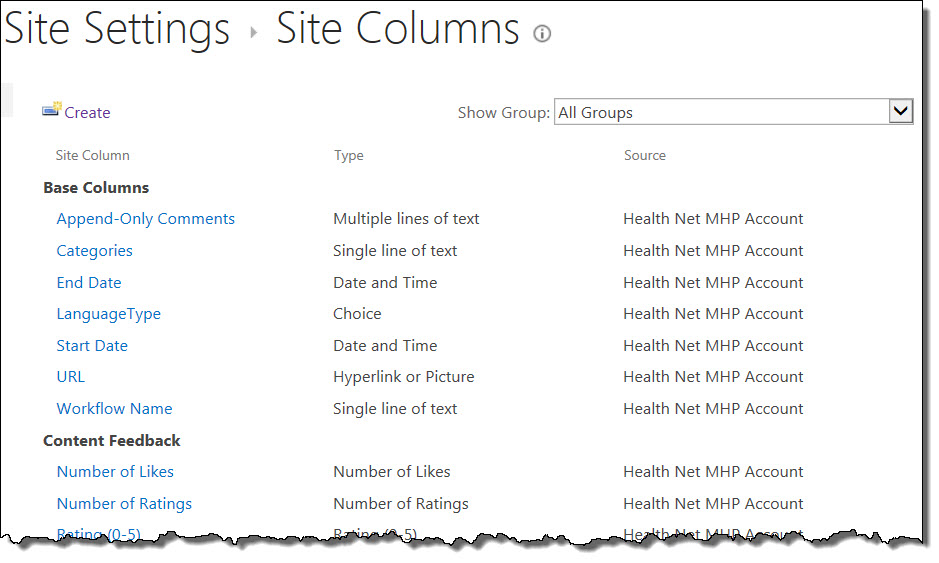
As you can see, there is already a long list of column settings. These are the columns that are already defined. DO NOT alter or remove any of these columns.
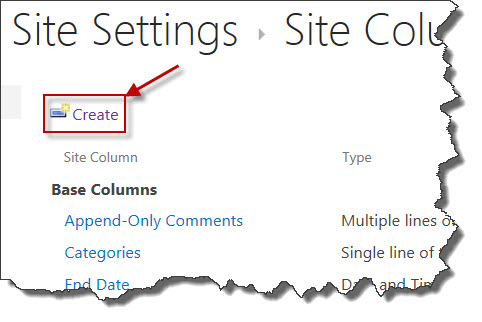
Select the Create link.
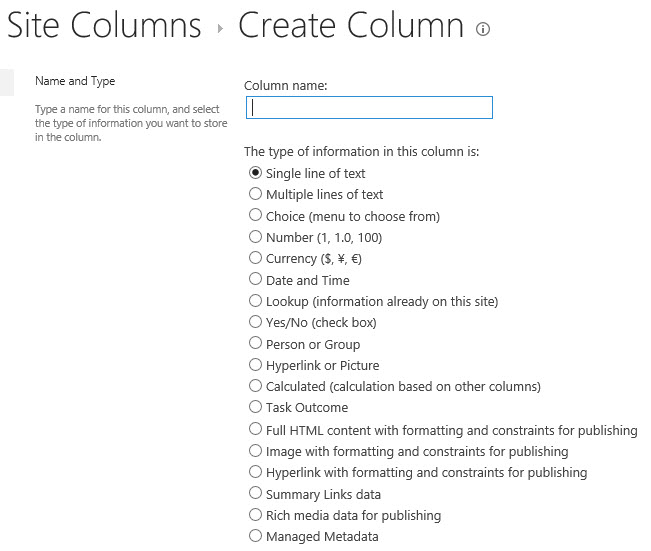
The first part of the process is the Name and Type of the Site Column as shown here:
Next is the Group.

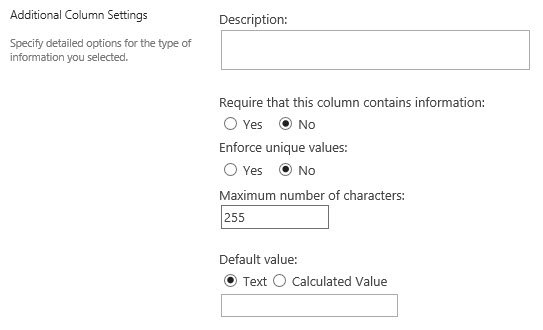
Next are the additional column settings.
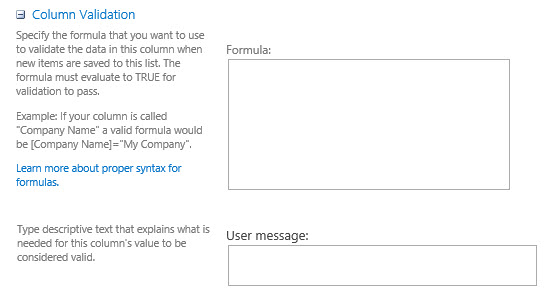
Next is the column validation.
Create a Lookup Column
When on the Name and Type section, enter a name. Locate The type of information in this column is and click on Lookup (information already on this site).
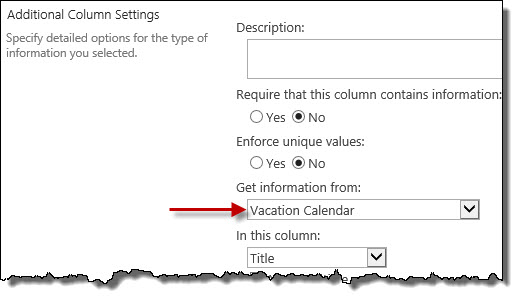
In the Additional Column Settings section, there is a combo box that is titled Get information from:. Select the list that contains the values. In this example, enter Vacation Calendar.

In the In this column box, select a primary column.

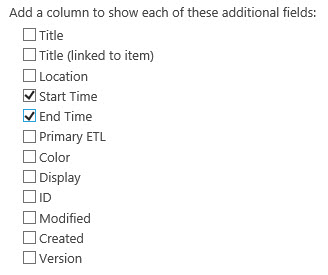
Under Add a column to show each of these additional fields, for each secondary column you want to add, click the check box next to the column name. Only columns with supported data types are listed. In this example, select Start Time and End Time.
Press the OK button.

Once you create a lookup column, you can modify the display and edit forms of the target list so that related data from the source list is displayed. For example, you can edit the display or edit page for the Orders list to add the related Items list and automatically connect the two corresponding List View Web Parts together by the passing the Lookup column value.
In the target list (for example, Orders-Vacation Tasks), click the List tab , click Form Web Parts in the Customize List section, and then click Default Display Form or Default Edit Form.
2.In the Main Web Part Zone, click Add Web Part. 3.Click Insert, click Related List, and then select the related list (for example, Items). Note: Only lists for which you have View Items permission are displayed. The two lists are automatically connected. After you save the page, when you display or edit an item from the Orders list, the related items in the Items list also display..ico)