Informatica Client Install - Windows 7
 Informatica Client Install - Windows 7
Informatica Client Install - Windows 7
Before you install the Informatica clients on Windows, verify that the minimum system and third-party software requirements are met. If the machine where you install the Informatica clients is not configured correctly, the installation can fail.
You can install the Informatica clients on Windows in graphical or silent mode.
Installing in Graphical Mode
Close all other applications.
Run install.bat from the root directory where you extracted the
installer files.
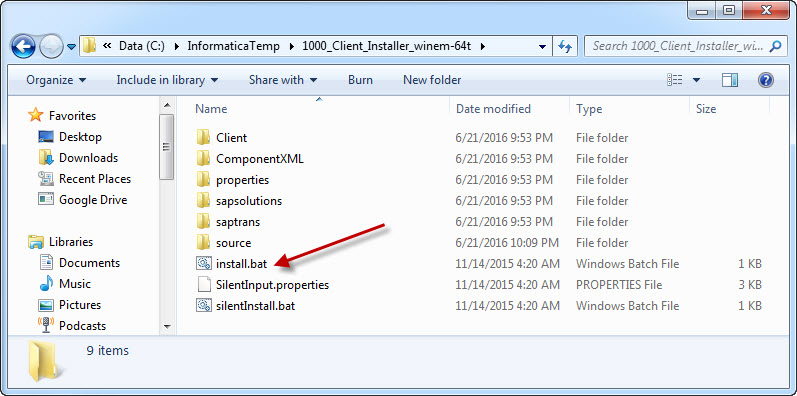
After a few moments, the following dialog is displayed.
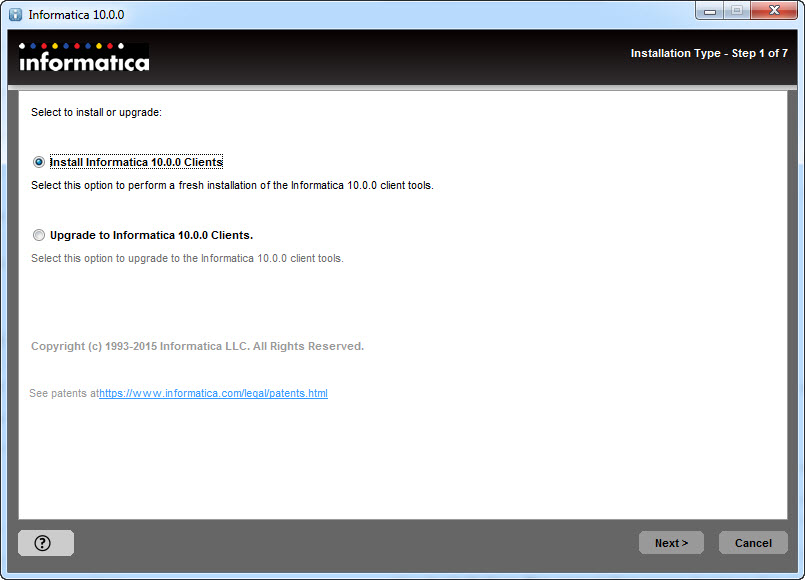
Since we are performing an installation, not an upgrade, ensure that the first radio button is selected and press the Next.
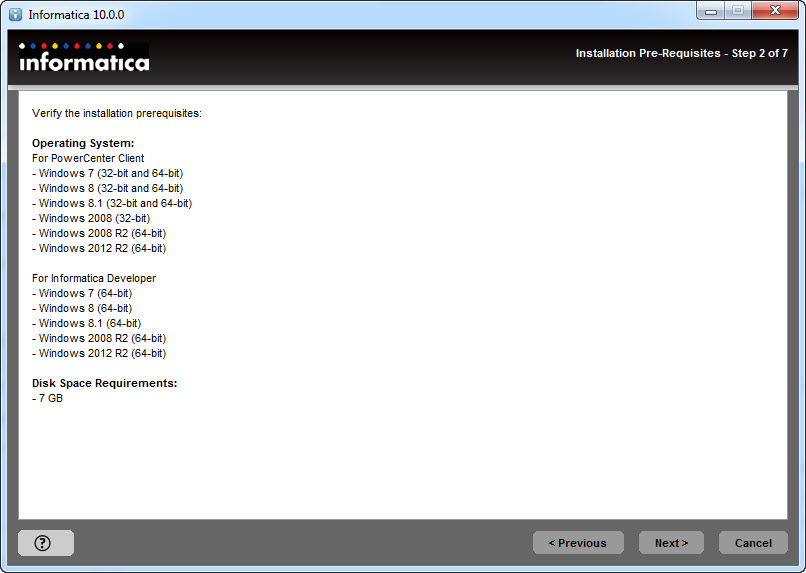
Use the information in this dialog that the minimum operating system and disk space requirements are met. Click the Next button.
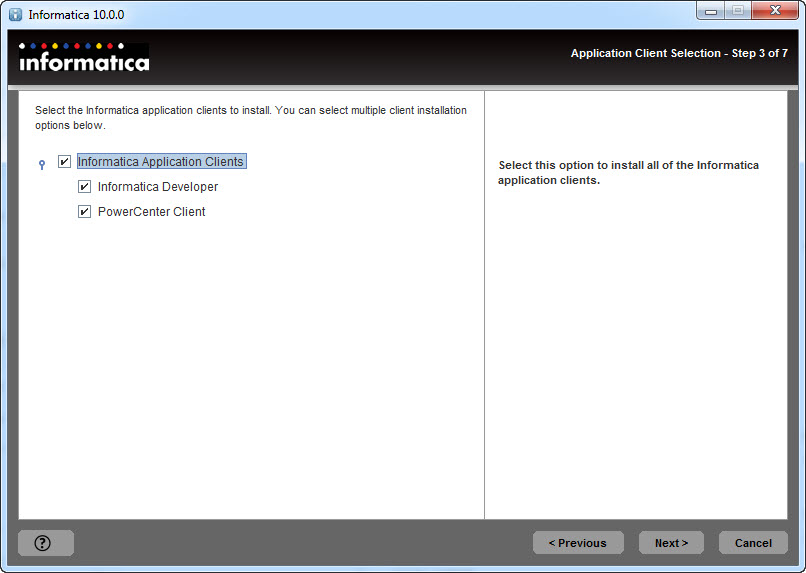
On this page, either Informatica Developer or PowerCenter Client must be selected. Both options can also be selected. For this installation, select both options and click the Next button.
The PowerCenter Client consists of applications that developers use to design mappings, mapplets, create sessions and workflows to load the data, and monitor workflow progress. In this article, lets discuss about the following applications and tools, which is used by developers during the development process.
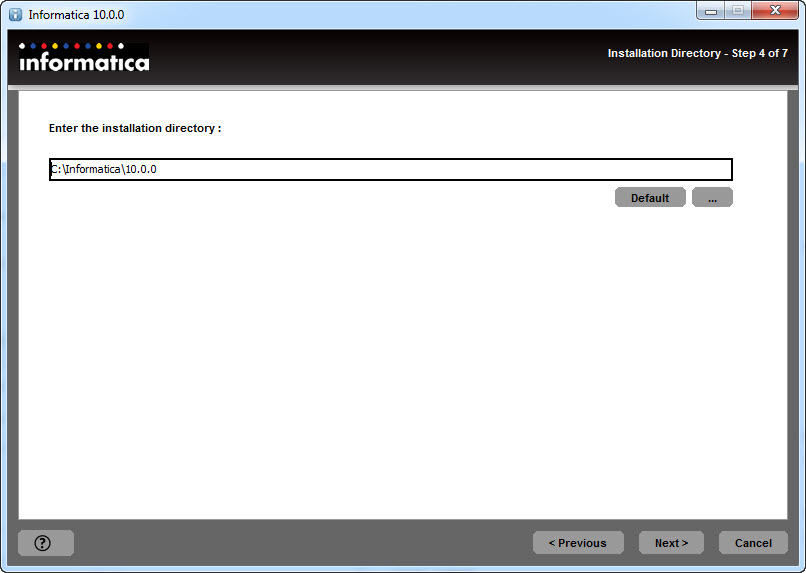
Ensure that the text box contains the value
C:\Informatica\10.0.0 and click the Next button.
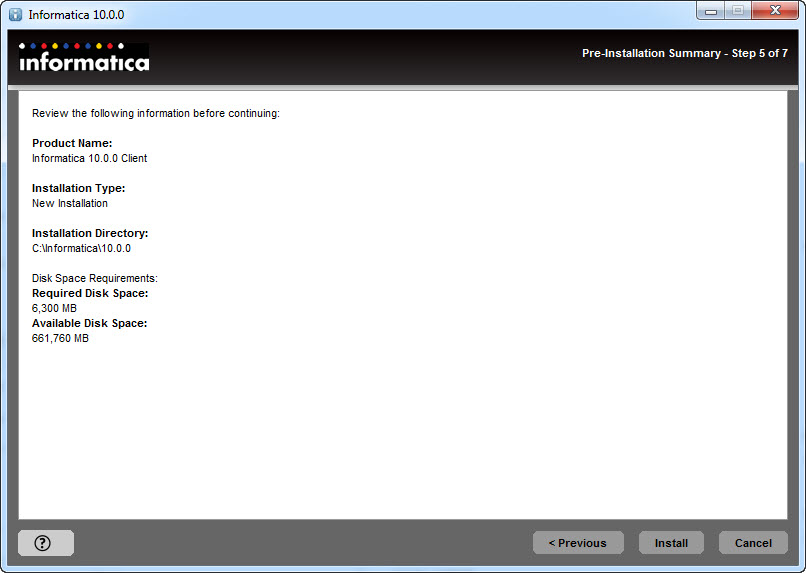
This is the summary page. It should all be correct. Click the Next button.
The software is installing. After about 30 minutes, the following dialog is displayed:
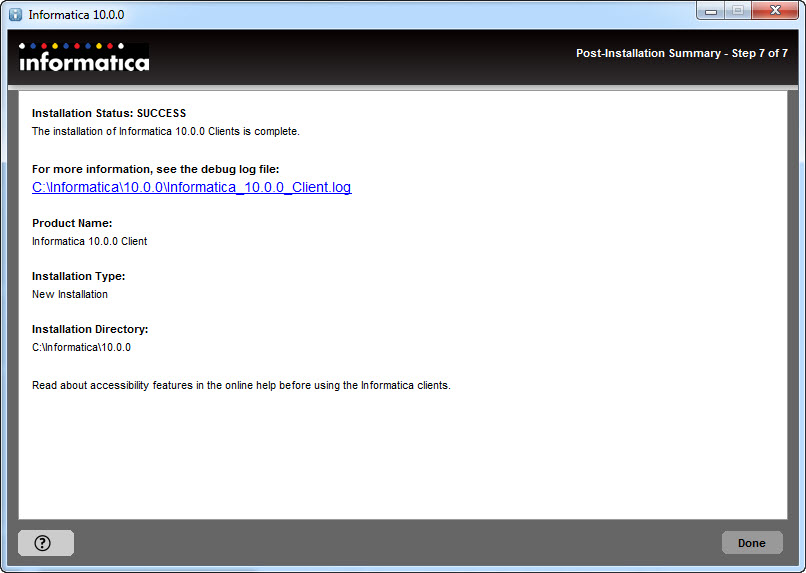
Both of the client applications have been installed.
Starting the Developer Tool
When you start the Developer tool, you connect to a Model repository. The Model repository stores metadata created in the Developer tool. The Model Repository Service manages the Model repository. Connect to the repository before you create a project.
.ico)