
Plex Media Server
Plex Media Server is a great piece of software that allows users to organize all of their media in one place and make availble to multiple devices and platforms. The installation process can be a daunting task and if you are not careful, you can waste a lot of time trying to get answers. To save myself some time later, here are my notes.
Links
- Local Media Assets - Movies
- Naming Movie files
- Multi-Version Movies
- Local Media Assets - TV Shows
- Naming 'Series' & 'Season' Based TV Shows
- Agents
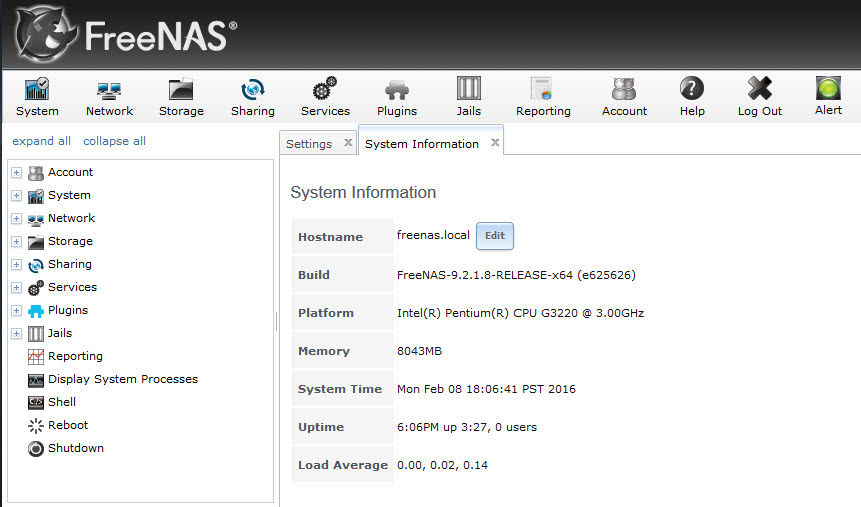
Open the FreeNAS web GUI. Mine is located at http://192.168.1.140. You should see the following page:
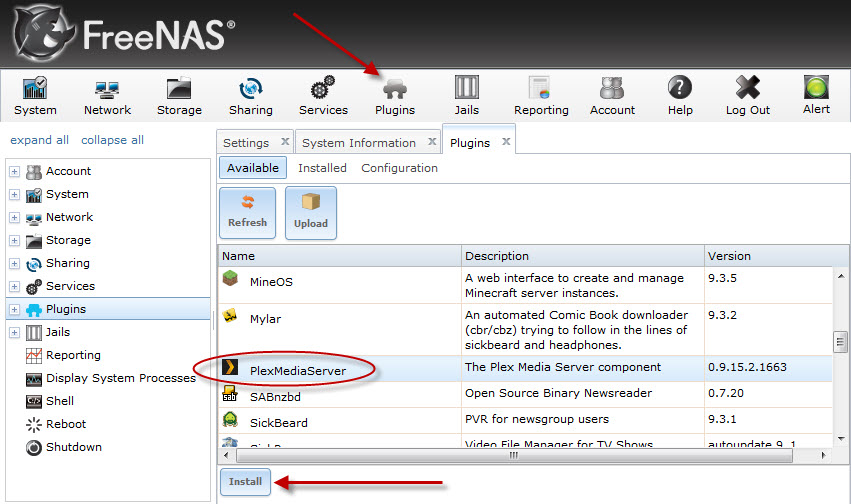
Click on the Plugins button and navigate to the tab to view the list of FreeNAS plugins that are available. Click on plexmediaserver to highlight the row. Then click on the Install button to start the installation process.
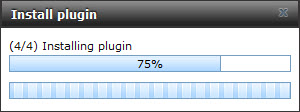
FreeNAS will begin the installation process by downloading the software that is required. You will, most likely, see a confirmation window. Select the OK button.

The download process and installation can take a couple of minutes.
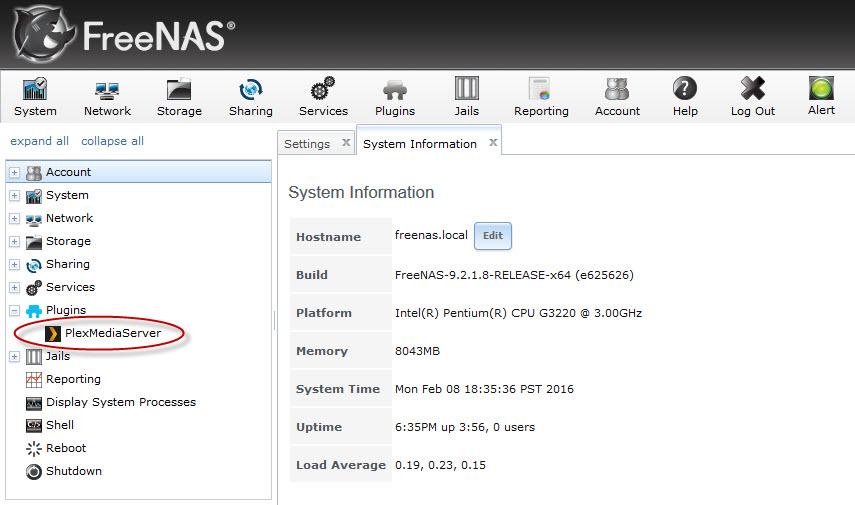
Once the process is completed, an entry is added to the Plugins tree (in the left hand tree) that is the Plex Media Server.
Before the server can be turned on, some properties need to be reviewed and storage must be made available to the jail. Navigate to the jail and click on the wrench.
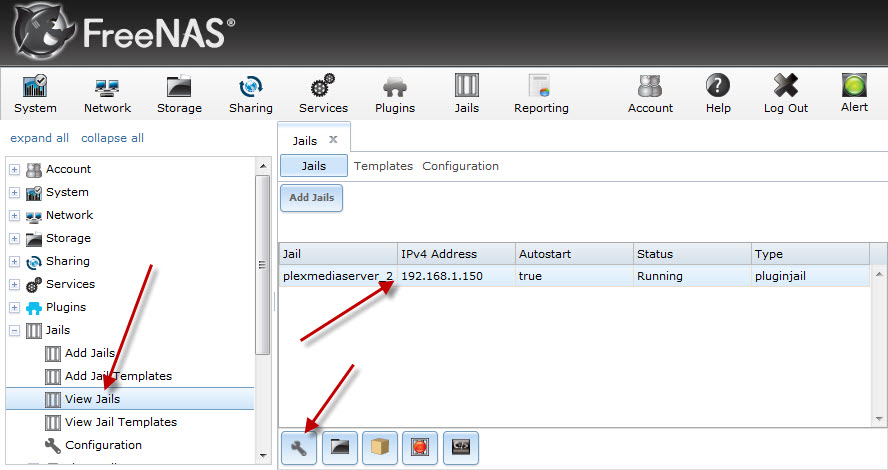
On this page, the IP address of the jail can be changed. I like using 192.168.1.150.
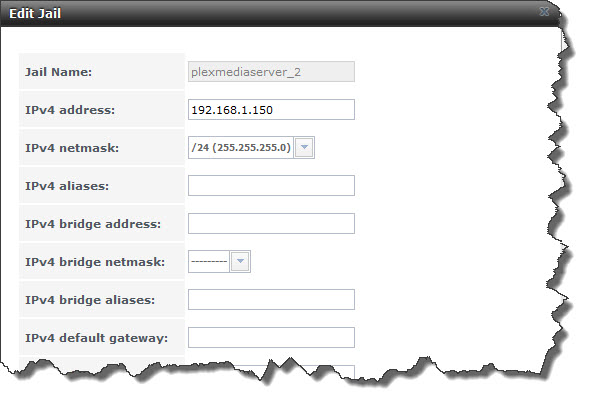
Make the changes, scroll down to the bottom of the Edit Jail dialog and click on the Save button.
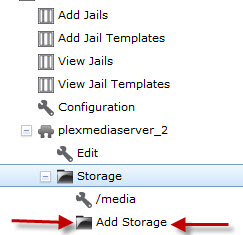
On the left tree, locate the jail. Expand the jail and Storage. Click on the Add Storage link.
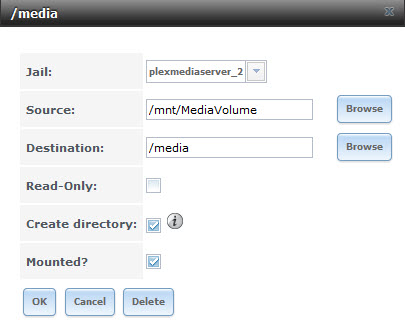
Fill out the form as illustrated below and hit the OK button.
It is now time to turn on the server. Navigate back to the Plugins that are Installed. Click on the Service status from OFF to ON.


The website can be accessed at http://192.168.1.150:32400/web/index.html.
.ico)